




12 Quality Checks Every Buyer Should Ask For Before Shipment

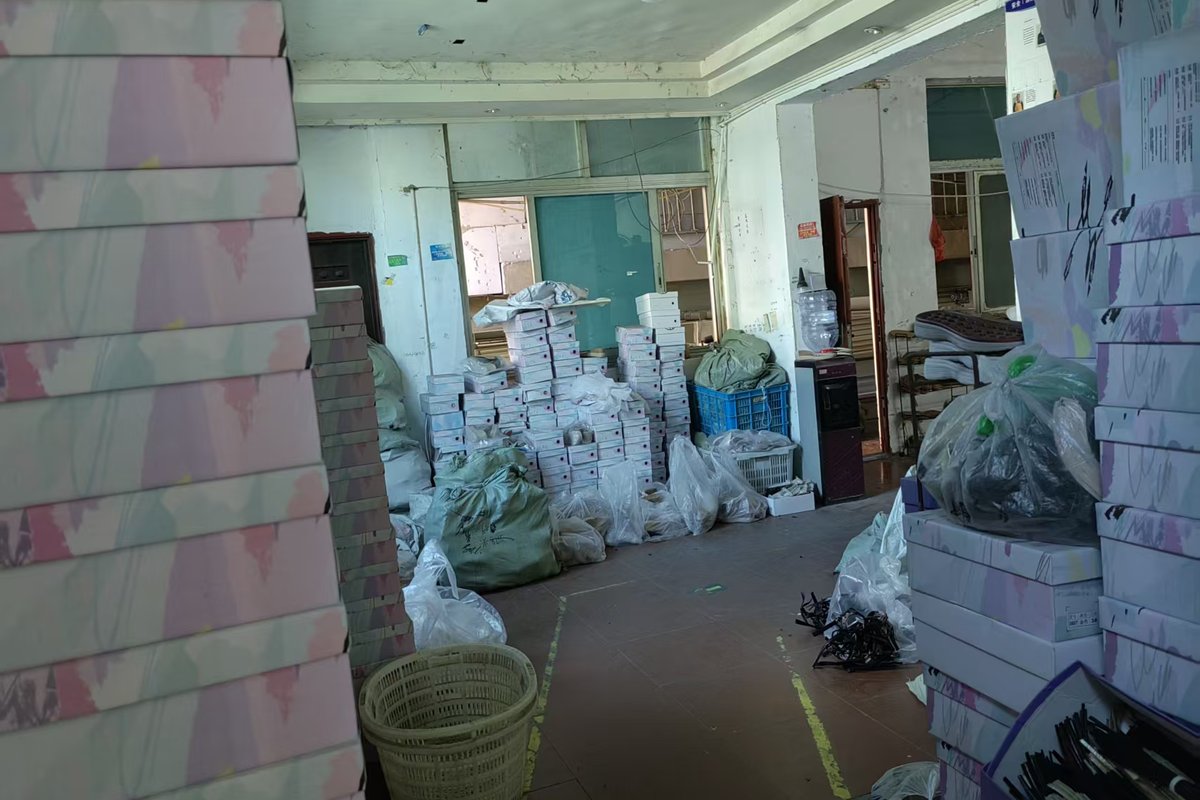
This checklist is for wholesale buyers and boutique owners who are about to release a balance payment on a footwear order. It covers twelve checks worth asking for before shipment, what a failure of each one looks like in a customer’s hands three months later, and exactly which photos and video to request if you cannot inspect in person.
Why pre-shipment is the last cheap moment
Once shoes leave the factory, every problem gets more expensive. A stitching fault found on the packing bench costs a craftsman an hour. The same fault found by a customer costs you a refund, the freight both ways, and a review you cannot delete.
Inspection is not an accusation. Any workshop that takes its work seriously expects buyers to check, and a clear checklist defines what “acceptable” means before anyone argues about it.

The 12 checks
1. Stitching density and thread lock-off
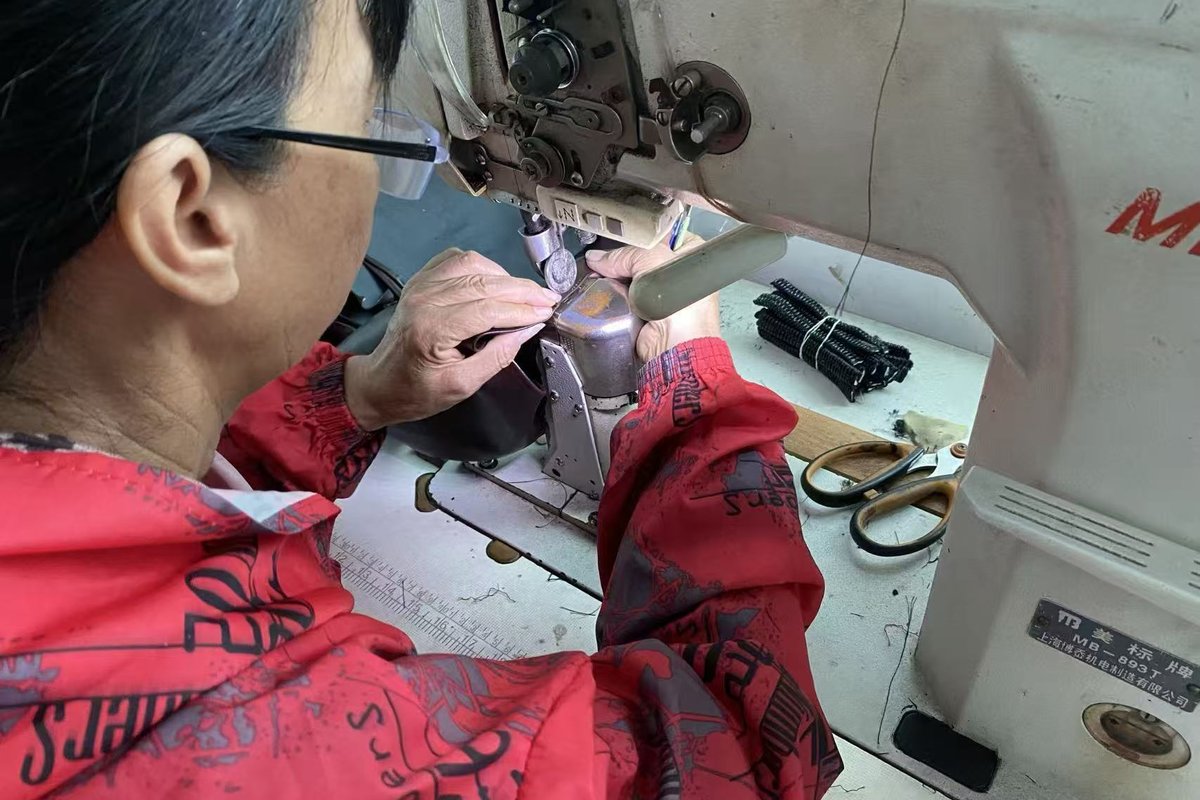
Count stitches per inch on a strap and compare against the approved sample. Density should be even, the line should be straight, and every seam should be locked off or back-stitched at the ends with no loose tails.
Failure in the buyer’s hands: an unlocked seam unravels progressively. The customer notices a strap loosening around week six, and by then the whole seam has to be re-sewn.
2. Adhesive bond and sole peel
Look along the entire bond line between upper and sole for gaps, squeeze-out or hardened glue on the visible edge. Ask the factory to demonstrate a peel attempt on a pair from the run.
Failure in the buyer’s hands: the sole gapes open at the toe or along the outside edge, usually after the first wet day. It is the most common footwear return, and almost always a bonding or pressing problem.
3. Heel attachment strength
On block heels and wedges, grip the heel and apply firm side-to-side pressure. There should be no movement, no creak and no visible gap where the heel meets the sole.
Failure in the buyer’s hands: a heel that works loose over a few weeks and eventually detaches, often on stairs. This is the failure most likely to generate a complaint about safety rather than quality.
4. Insole and lining finish
Pull the shoe open and look inside. Lining should be smooth and fully bonded with no wrinkles, no exposed adhesive and no rough edges at the topline.
Failure in the buyer’s hands: a wrinkle or a hard adhesive ridge inside a sandal produces a blister within an hour of wear. The customer describes the shoe as uncomfortable and never mentions the lining at all.
5. Hardware and rhinestone security
Test buckles, rings and logo plates by hand. Check plating for scratches and dull patches. For rhinestones, press across the field with a thumb and look for any that move, then check stone count against the sample.
Failure in the buyer’s hands: missing stones leave visible empty settings that read as cheap even when the rest of the shoe is good.
6. Colour consistency across the batch
Line up ten or more pairs from different cartons under the same light and look for shading variation. Check that the two shoes of each pair match, and that straps, heel covering and piping match each other within a shoe.
Failure in the buyer’s hands: a customer holds two shoes from the same pair together in daylight and sees one is warmer than the other. Shade variation between pairs is tolerable within limits; variation inside a single pair is not.
7. Size and last consistency
Measure insole length across several pairs of the same size. They should be within a couple of millimetres. Then check the size grading is consistent across the run rather than a jump between two sizes.
Failure in the buyer’s hands: inconsistent sizing produces returns you cannot explain and destroys repeat purchase, because the customer stops trusting the size they bought last time.
8. Left and right pairing
Confirm each box contains a matched left and right, in the same size, in the same colour, with buckles and trims mirrored correctly. On decorated styles, check that an asymmetric ornament appears on the correct side of each shoe.
Failure in the buyer’s hands: a mismatched box is an immediate refund and an immediate loss of confidence.
9. Odour and material compliance
Open a sealed carton and smell it. A faint adhesive smell that clears within a day or two is normal; a sharp chemical odour is not. Confirm any material declarations your market requires for the trims and the upper.
Failure in the buyer’s hands: shoes that still smell after unboxing get returned regardless of how well they are made, and a compliance gap discovered at customs holds the entire shipment.
10. Carton marking and packing
Check shipping marks, size and colour breakdown per carton, pairs per carton, tissue and stuffing, and that boxes are not crushed. Confirm the pack ratio matches the purchase order rather than the factory’s default.
Failure in the buyer’s hands: a shipment you cannot receive efficiently. Unmarked cartons mean opening everything to find one size, and crushed retail boxes cannot go on a shelf.
11. AQL sampling basics
Inspecting every pair of a large order is unrealistic, so inspection works on a sample drawn at random across cartons. AQL defines how many pairs are pulled and how many defects are allowed before the lot fails.
Failure in the buyer’s hands: if the sample is pulled from the top layer of one carton, it tells you nothing. Insist that pairs are drawn from cartons across the whole shipment.
12. Photos and video against the approved sample
If you cannot attend, this is your inspection. Ask for a defined set of images shot next to the sealed approved sample, plus short video of the specific stress tests.
Failure in the buyer’s hands: catalogue-style photos of one perfect pair prove nothing about the other 299. Insist on random pairs, shot in the factory, with the carton visible.
Inspect against your sealed approved sample, not against your memory of it.
Defect severity and what to do
| Class | Examples | Buyer action |
|---|---|---|
| Critical | Heel movement, sole separating, mismatched pair, wrong size in box | Hold shipment; rework required before balance payment |
| Major | Loose stitching, unlocked seam, visible glue, missing stones, shade mismatch within a pair | Rework the affected pairs and re-inspect |
| Minor | Faint scuff, slight shade variation between pairs, small packing inconsistency | Accept within an agreed allowance; record for next order |
Agree these definitions with your supplier before production, not while a container is waiting. A shared definition of “major” is worth more than a long contract clause.
The photo and video set to request
- Six random pairs, each shot top, side, back and sole, in daylight or consistent light.
- One pair placed directly beside the approved sample, in the same frame.
- Close-up of the bond line along the toe and outside edge on two pairs.
- Short video of a heel being flexed side to side, and of a peel attempt at the toe.
- Inside-shoe shot showing lining, insole edge and any branding on the sock.
- Ten pairs lined up together for shade comparison.
- Insole length being measured with a ruler visible in frame.
- An open carton showing pack ratio, tissue and box condition, with the shipping mark readable.
Request photos of the first 10 to 20 finished pairs while the run is still going. A fault caught at pair 15 is corrected for the rest of the order; the same fault caught at pair 300 means reworking everything.
Building the checklist into your order
The most effective thing a small buyer can do is send this list with the purchase order rather than after production. It tells the factory which points you care about most and removes ambiguity later.
- Attach the checklist to the PO and ask the supplier to confirm each point in writing.
- Seal and photograph the approved sample; keep it until the order is fully sold through.
- State clearly that the balance is paid after inspection results are accepted.
- Feed anything you find back into the next order’s specification instead of repeating the fix each season.
Handmade footwear will always carry small variations between pairs. The purpose of a checklist is not to eliminate variation but to separate the variation that is character from the variation that becomes a return.
Send us your inspection checklist before production, not after
Share your design, target price or reference photos along with the checks that matter most to your market, and we will confirm point by point how each one will be handled on your order.
